If you are using the email capture / mail drop feature of OmniFocus, you can speed up the notes with Note To Self Mail. The app creates notes in OmniFocus in seconds.
Setup Note To Self Mail for OmniFocus
1. Create your OmniFocus email address
If you’re already using the Omni Sync Server to sync OmniFocus, you can log in to the sync server web interface and create your first Mail Drop address. After logging in, just click the Create Address button to automatically generate the email address (a combination of your account name and a random string of characters, for example).
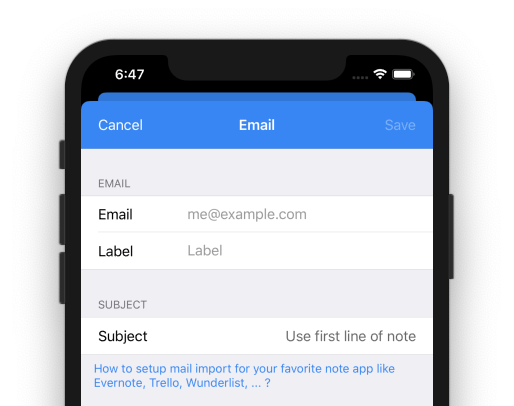
2. Add your OmniFocus email address to Note To Self Mail
Add this email address to Note To Self Mail. You can also set the label to “OmniFocus” or any other descriptive name.

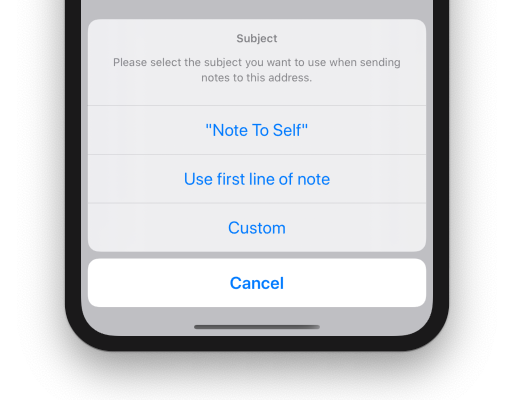
3. Adjust the subject
OmniFocus uses the subject as a main source of a new note. Set the subject to “Use first line of note”. This ensures, that the first line is used as subject and all the other text lines are moved to the body.

Usage
In OmniFocus, the subject line of that message becomes the name of the new Inbox item. The body of the message becomes the Note, which can contain text, attachments (such as images and files), and simple HTML (more complex formatting is removed). All available features are described in OmniFocus documentation: Capture Methods > Email Capture (Mail Drop).
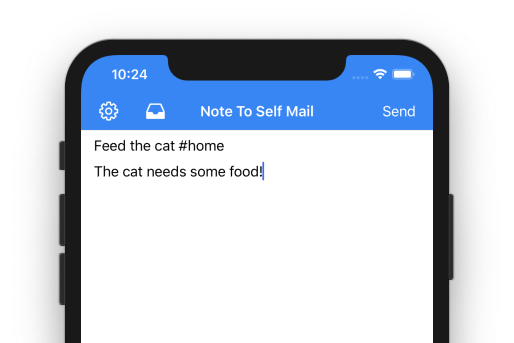
Now, you can send any note to OmniFocus. With the following text …

… a new task will be created in your Inbox.
You might notice, that the first line is used as title. All the other contents of the input (line 2 up to the end) are moved to the task description. That’s it!

Leave a Reply