If you are using the mail import feature of Asana, you can speed up the notes with Note To Self Mail. The app creates notes in Asana in seconds.
Setup Note To Self Mail for Asana
You can create tasks and conversations from email addresses associated with Asana. Check which email address is associated by open up Asana and go to “My Profile Settings > Email Forwarding”.
1. Add the Asana email address to Note To Self Mail
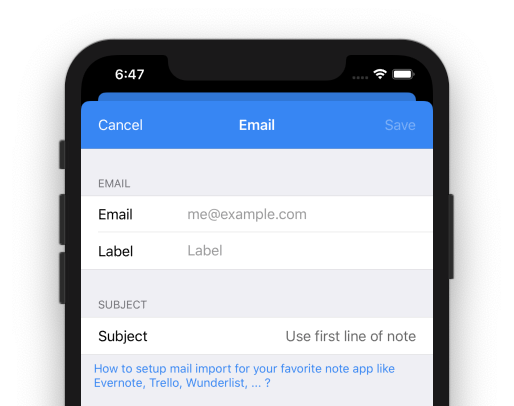
Add the Asana email address x@mail.asana.com to Note To Self Mail. You can also set the label to “Asana” or any other descriptive name.
You can create conversations by using [team-name]@mail.asana.com. For example, marketing@mail.asana.com goes to the Marketing team, and customer-success@mail.asana.com goes to the Customer Success team.
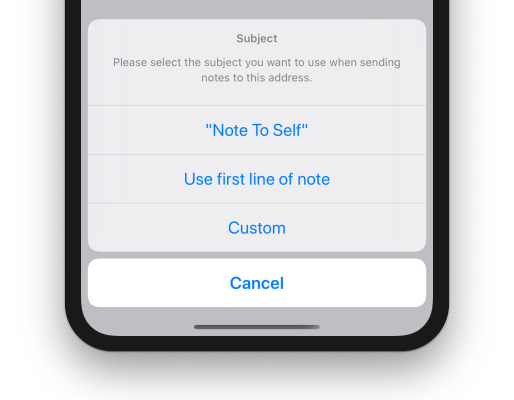
2. Adjust the subject
Asana uses the subject as a main source of a new note. Set the subject to “Use first line of note”. This ensures, that the first line is used as subject and all the other text lines are moved to the description of the task.
3. Check your “from” email address
When using Gmail, your login id is used as sender address. If you use a custom SMTP server, you can specify the sender email in SMTP settings. In this case you have to make sure that this email is the same as the one used in Asana settings (see 1.).
Usage
Now, you can send any task to Asana. Tasks emailed will appear in your My Tasks list.
- The subject line will be the task name
- The body will be the task description
- All email attachments will be attached to the task
- You can cc teammates to add them as task collaborators
A detailed description of the possibilities are listed in Asana’s documentation: Emailing Tasks.
Now, you can send any note to Asana. With the following text …
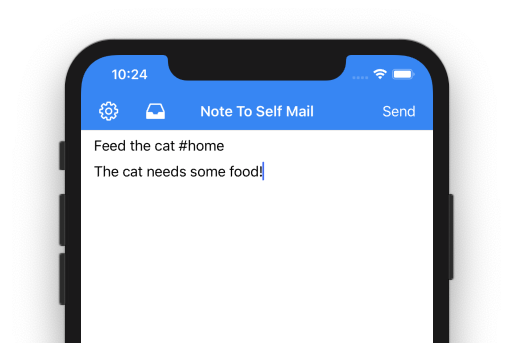
… a new task will be created in Asana …
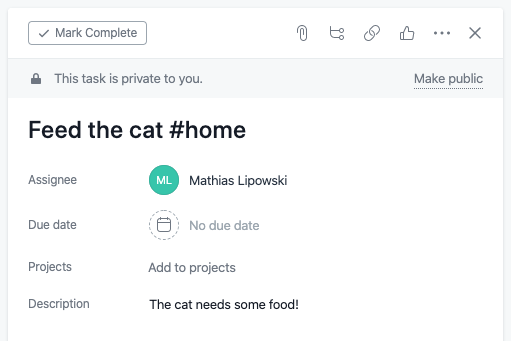
You might notice, that the task was placed in the correct project. The subject is set to the task title. All the other contents of the input (line 2 up to the end) are moved to the task description. That’s it!
Leave a Reply